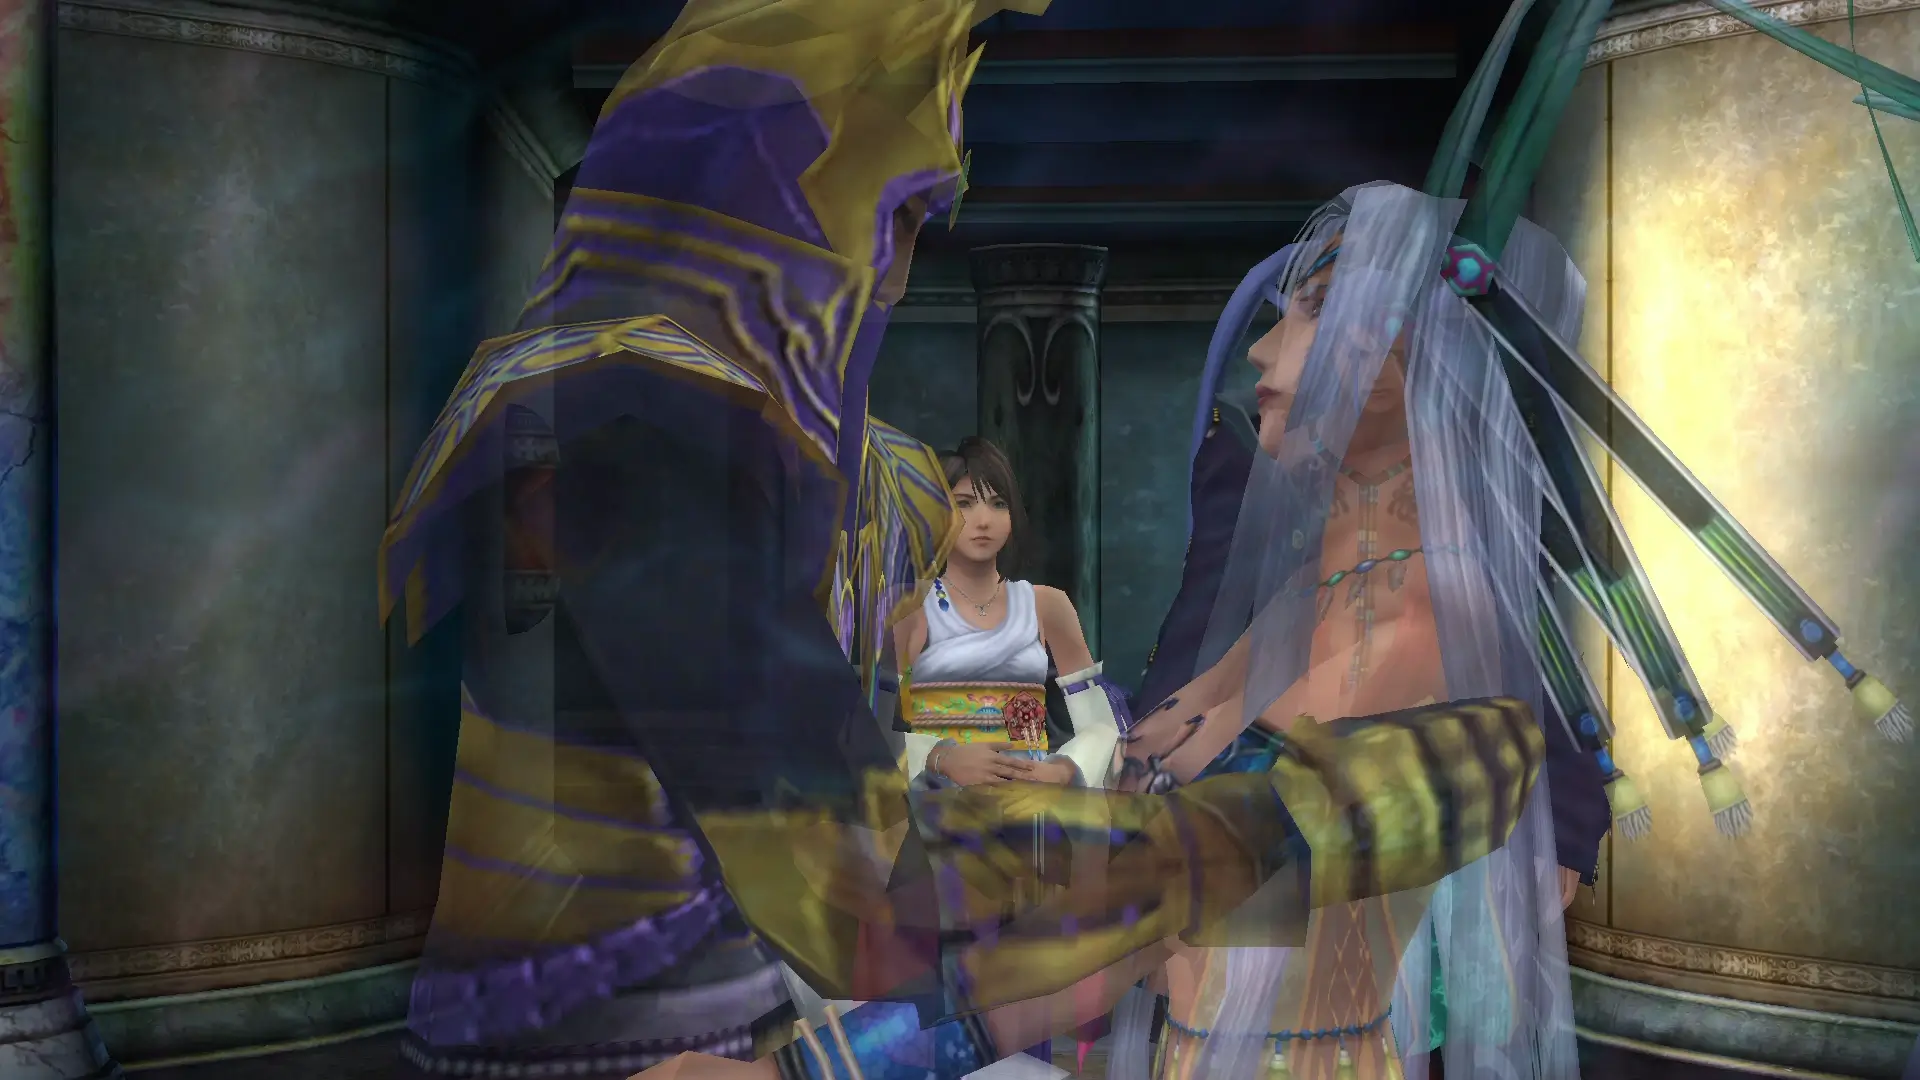
The airship is arguably the best way to travel in Final Fantasy. It provides a quicker, easier way to travel throughout the game world, enabling the bypass of large expanses without encountering enemies. You get the airship in Zanarkand, after you beat Yunalesca.
In FFX, you will have open access to the fast-travel capabilities of the airship in the later parts of the game, allowing you to travel over Spira more freely. You’re able to use the airship 99% freely after you kill Yunalesca. However, if you go up on the outside deck, you’ll have to fight Sin’s arms/legs/wings. After you fight Sin on the outside deck, you will be able to use the airship 100% freely.
Airship allows for the discovery of secret areas, as long as you know where to look.
Where do I go immediately after beating Yunalesca?
Here are some suggestions for what to do immediately after you defeat Yunalesca.
1. Find the Sun Crest
The Sun Crest can be found after defeating Yunalesca, revealed by descending the end set of stairs. In the PAL, International and HD Remaster versions, if the player does not obtain it upon her defeat, the next opportunity to obtain it is after defeating Dark Bahamut.
After the encounter with Yunalesca, climb the broken ladder to the left to reach a hidden area with the Sun Crest. To PAL and International version players, make sure you get this now! Otherwise, it will become inaccessible later unless you defeat Dark Bahamut!
2. Go to the Airship
After Yuna’s party defeats Yunalesca in the ruins of Zanarkand Dome, you will make the airship their base of operations. Exit Zanarkand’s Dome to watch Sin leave and return to the airship.
3. Choose Your Path
You can choose to work your way to the end of the story or you can complete the endgame and side quests content available in the game.
The rest of this article will discuss these options.
Option 1: Win the Game
After a series of events, go to the Cabin and talk to Yuna twice. She says to go to Bevelle. Head to the bridge and talk to Cid. Fly to the Highbridge.
- In Bevelle, talk to Mika to learn his reasons for remaining on Spira and the location of Sin. After Mika disappears return to the Airship via the save point. On the Map, the location for Sin has been added. Go there.
- After defeating Sin and Sinspawn Genais, rest up and save then talk to Yuna on the deck for the final showdown against Sin.
- You’ll find yourself inside Sin now. Here, save your game and continue. In the next area, just find your way toward the red indicator. There will be a save sphere at the end. Save and continue up.
- After the battle, go back down to save again if you like. Head back up and continue on. Here, just keep going towards the red indicator at the end. Press X while stepping on the blue panels you see along the way, this will lead to hidden treasures around the area. Proceed until you reach the last save sphere. Once you’re ready, continue north. A large pillar will drop from the sky. Now approach the large pink circle to get to the next area.
- Here, you have to collect the shiny white crystals that appear. (10 of them) If you happen to get hit by the icicles that protrude from the ground, you’ll have to fight fiends. Collect 10 crystals to be taken to the next area.
- The game is practically over now. Watch some more events between Tidus and Jecht. After that, the final battle of the game commences.
Options 2: Complete side quests and minigames
You can begin to look towards the end game and side quest content after Tidus and the team escape from the Zanarkand Ruins after defeating Yunalesca and after they have returned to the Highbridge and Bevelle.
You do not need to do any of the side quests or endgame content in order to beat the game. However, completing these side quests will make the final boss encounters much, much easier. The side quests in FFX can be completed in any order.
Sidequests include…
- Get Celestial Weapons, which are the most powerful in the game. To learn more about Celestial Weapons, see my guide on Crests and Sigils. Getting these items often include playing minigames like Chocobo racing and Blitzball.
- Get Optional Aeons: Yes, there are more Aeons you can get and two of them are near the Calm Lands.
- Fill the Monster Arena: The Monster Arena is important for getting powerful items like fortune spheres. To learn more about the Monster Arena and Fortune and Luck spheres, see my guide on Luck spheres.
- Get achievements: One of the most insane achievements is filling up the sphere grid for each character. If you spend your time doing this, defeating the game will be trivial by the time you get there.
Option 3: Explore on the Airship
The Airship is the party’s main mode of transportation in the later stages of the game. It also has secrets that can be activated either by inputting passwords or checking the coordinates of the world map of Spira. You can enter the secret passwords and hidden coordinates into the “NavMap” aboard the Airship in order to reach secret destinations.
Below are the lists of all coordinates and passwords for the Airship.
Passwords
Besides having the option to choose a destination when speaking to Cid, the player can also choose to input a password. The passwords can be deciphered from various Al Bhed texts found across Spira and, when entered, unlock new locations on the map for the player to explore.
Select the “Input” option in order to enter the passwords. The three Al Bhed Passwords are:
- GODHAND: Allows the party to teleport to Mushroom Rock Road. Selecting the Mushroom Rock destination will put you on a secret path that leads to a treasure chest. The treasure chest can only be opened if you have already obtained the Celestial Mirror. The treasure chest contains the Godhand weapon for Rikku, though it still needs to be fully charged.
- VICTORIOUS: Entering the password VICTORIOUS allows access to an area in Besaid called Besaid Ruins 1. Selecting the Besaid Ruins 1 destination will lead you to a treasure chest that contains Victorious, which is a mediocre piece of armor for Rikku. So, it allows the party to teleport to Besaid and get Rikku’s Armor from the chest.
- MURASAME: Entering the password MURASAME will allow access to a second hidden area of Besaid, Besaid Ruins 2, that holds the Murasame katana for Auron. Allows the party to teleport to Besaid Ruins 2 to get Auron’s Weapon Murasame.
They will be highlighted in yellow until the player has visited them.
Coordinates
Another option to discover new locations is to choose the Coordinate option when speaking to Cid. This brings up a cursor over the map of Spira, along with a set of coordinates. The player can discover new locations by aligning the cursor with specific coordinates.
Note: Airship coordinates are not easy to point out precisely, so you might need to move your cursor a little within the ranges to hit that sweet spot.
Here are the coordinates and the areas that are unlocked:
- Sanubia Sands:
Coordinates: X: 12-16 Y: 41-45.
This location in the Sanubia Desert features a treasure chest that contains Tidus’s Ascalon weapon. Obtain the Ascalon weapon for Tidus which has the Double AP ability.
- Battle Site:
Coordinates: X:39-43 Y:56-60.
In this area, you want to travel north from the save sphere to find a treasure chest that contains Lulu’s Phantom Bangle. Obtain the Phantom Bangle armor for Lulu which has the Ice Eater, Fire Eater, and Water Eater abilities.
- Mi’ihen Ruins:
Coordinates: X: 33-36 Y: 55-60.
In the northern part of this area, you can find a treasure chest holding Rikku’s Sonar weapon which has the Initiative and Poisonstrike abilities.
- Besaid Falls:
Coordinates: X: 29-32 Y: 73-76.
Atop the rocks near the waterfall, you will find a treasure chest. It allows you to get Kimahri’s Weapon Dragoon Lance which has the Magic Counter and Evade & Counter abilities.
- Omega Ruins:
Coordinates: X: 69-75 Y: 33-38.
It’s a great place to grind out Sphere levels. There are a number of side quests that can be completed by venturing to the Omega Ruins. Secret boss Ultima Weapon can be battled here. Superboss Omega Weapon can be battled here. Explore the Omega Ruins to defeat Ultima Weapon and Omega Weapon.
- Baaj Temple:
Coordinates: X: 11-16 Y: 57-63.
There are a number of things to complete that involve venturing to Baaj Temple. You can do battle with Geosgaeno and finally beat him. Once Geosgaeno is defeated, head south and you can find Lulu’s Celestial Weapon, Onion Knight. Inside the temple, you can find treasure chests that contain 4 x Mega Phoenix and Megalixir. If you have collected all six Destruction Spheres hidden treasures from all of the Cloister of Trials, you will be able to obtain the Aeon Anima.
Like the password-discovered locations, they will be highlighted in yellow until the player visits them.
Final thoughts
It’s a common experience: when you know the game is about to end, you want to do anything but let that happen. With the bonds formed by the characters, you have many hours more content.
I love FFX so much, which is why I’m sharing my love for the game here and in my Twitch stream. While you may have found the answer in this article and figured out what you will do next, the game will live with you long after.